Our Curbing Process
From Prep to Sealer
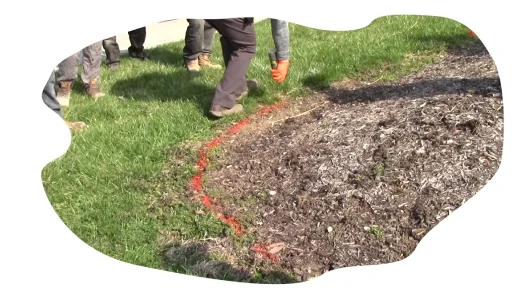
Step 1: Ground Preparation
This process is about you choosing a design, followed by us preparing the ground for the actual curb to be laid down. By cutting the grass around the project area, we are allowing the grass to grow into the curb, creating a more natural, interesting final product.
- We spray down our recommended lines for the curb
- You decide on which design you would like
- Our crew cuts the sod, rolls it up and removes it.
- Or, we will use our bed edger to lightly till the ground.
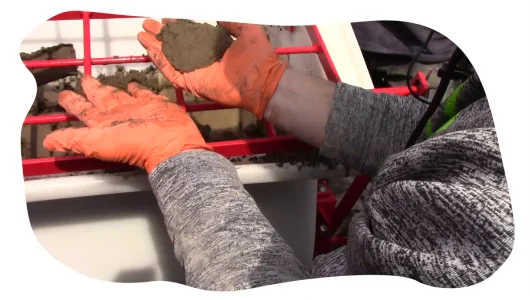
Step 2: Mixing
We bring our mixers on our trucks to make the job faster and easier for everyone. With your design and pattern in mind, our team will create the perfect mix right before laying the curb.
- We’ll mix the concrete for your specific design needs
- We keep everything on our truck for easier cleanup
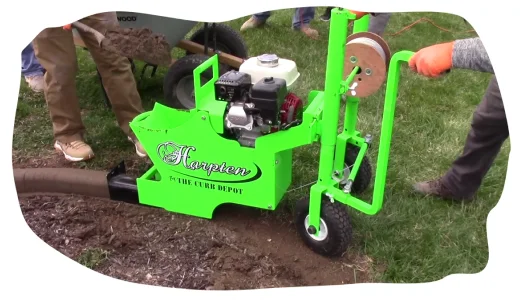
Step 3: Extruding
We’ve laid over several thousand feet of curbing, so this is our bread and butter. Using our own machine, the Harpten, we’ll lay a perfect curb to the design that you agreed upon before we started the first step.
- We focus on perfect color matching
- Our stamps will be nice and symetrica, but also natural in style so it doesn’t appear too look manufactured
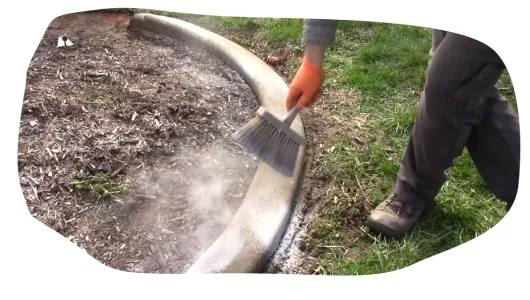
Step 4: Stamping & Coloring
This is where your design really comes to life. We’ll mix colors to reach your favorite choice and stamp it to your chosen design.
- Once you’ve agreed and are satisfied with the product design and layout, we will schedule a time to return and seal the curb
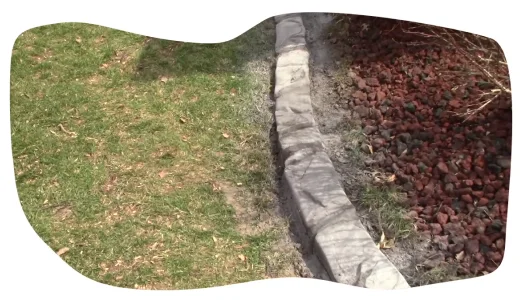
Step 5: Sealing
Your curb will last for years without chipping, cracking, or fading because of our sealing technique. We’ll come back a few days after the job is done to seal it for durability.
- We’ll come to you for approval on a job well done
- Our team will come back a few days later to seal the curb
- The following year we’ll call to schedule your first yearly resealing
People Trust US
EXCELLENTTrustindex verifies that the original source of the review is Google. I’m very pleased with their work I would recommend them to anyone. Thank you Carolina Pro-Style Curbing for the great work.Trustindex verifies that the original source of the review is Google. The team was very professional did a Great job cleaned up and took all material with themTrustindex verifies that the original source of the review is Google. The curbing installed in our yard was unique and beautiful. The crew was on time and professional always I highly recommend them.Trustindex verifies that the original source of the review is Google. these guys are artists. I've received lots of compliments from my neighbors.Trustindex verifies that the original source of the review is Google. Great customer service, fast turnaround. Everything you could ask for. Communication, punctuality, and finished product is top notch!Trustindex verifies that the original source of the review is Google. Very excited about our concrete edging. This company came highly recommended by the company that did our driveway expansion. After seeing Noah and his team work their majic, we also highly recommend them. They are a professional young team. Great attention to detail and their work show it is important to them to make sure their customer is completely satisfied. Worth every $$ we spent. I landscaping. pictures to this posting once we are complete with our landscapijng.Verified by TrustindexTrustindex verified badge is the Universal Symbol of Trust. Only the greatest companies can get the verified badge who has a review score above 4.5, based on customer reviews over the past 12 months. Read more